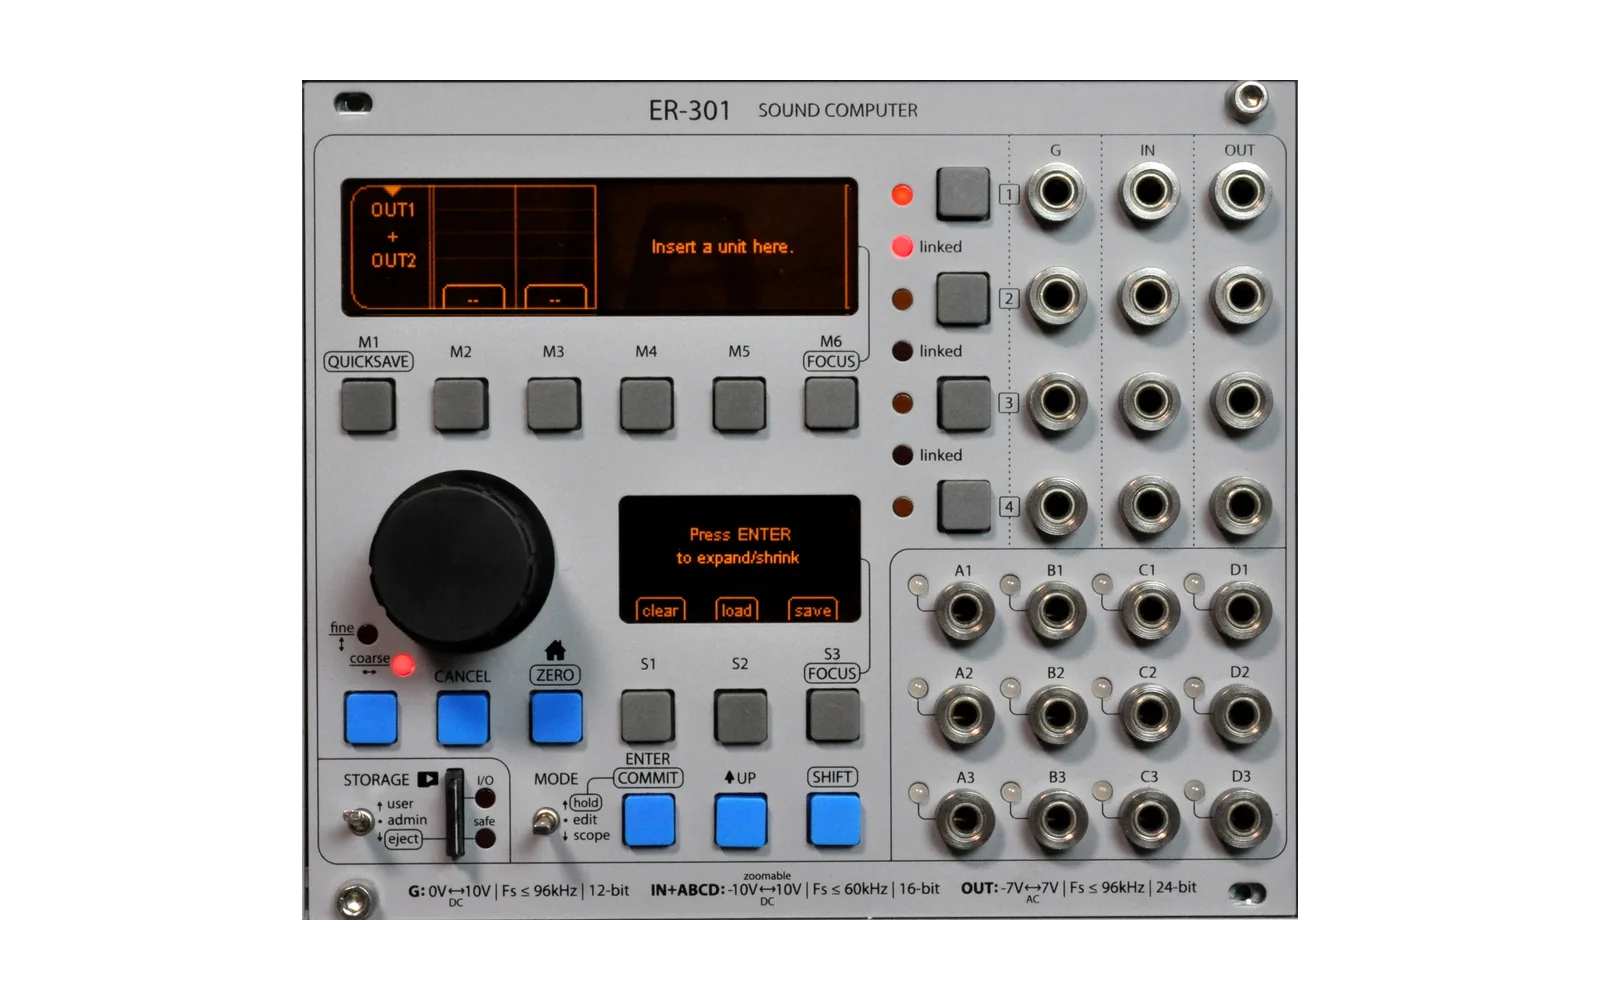
ER-301 Sound Computer (stolmine fork)
This is a fork of the ER-301 firmware that adds a TXo I2C master output mod, enabling the ER-301 to send CV and gate data over I2C to TXo output expanders. This work would not be possible without the generous open-sourcing of the original firmware by Orthogonal Devices. Thank you, Brian!
Important: I2C hardware requirement
This firmware does not allow running the ER-301 and TXo in isolation. You will need a leader (Teletype, Crow, Michigan Synthworks Faderbank), or a "dumb" module with pull-up resistors included: TXb, or tt-busboard-jr.
You must choose between leading and following on i2c, attempting to do both at once has been shown to cause issues, including crashes.
What's different from upstream
- TXo mod — interrupt-driven I2C master TX with gain control, V/Oct mode, and simultaneous Teletype slave RX coexistence
- Vanilla package compatibility — SWIG pinned to 4.2.1 with runtime version bridge so community packages compiled against upstream firmware load and share types correctly
- Favorites — shift-toggle edit mode in the unit picker to tag/untag favorites, displayed as their own category above Recents
- Screensavers — snow, rain, forest, maze, perlin noise, and voronoi screensavers with automatic cycle mode
- Readout name table — mapped display text for Readout widgets via
addName()/clearNames()API - Master output scale — percentage-based output level control (100/75/50/25/10%) in admin settings
- Package diagnostics — detailed error reporting for archive and ELF load failures (unresolved symbols, corrupt archives, header mismatches)
- Bundled mods — firmware zip includes core, teletype, and txo packages
Table of Contents
- Introduction
- Emulator
- Creating your own mods
- USB Functions
- Build profiles and target architectures
- Glossary
Introduction
This project contains the source code for:
- primary boot loader (MLO)
- secondary boot loader (SBL)
- firmware (kernel.bin)
- emulator (Linux and macOS only)
- factory mods (core, teletype, txo)
- SDK for building your own mods
Emulator
The purpose of this emulator is to make writing code for the ER-301 just a little bit easier and fun. Although you could, the emulator is not designed for making music. I can see also see the emulator being useful to someone who just wants to know more about the ER-301 before buying one.
Compiling the emulator
:warning: The following instructions have been tested on Ubuntu 20.xx.
To compile and run the emulator you will need the following dependencies installed:
# ubuntu
sudo apt update
sudo apt install build-essential libsdl2-dev libsdl2-ttf-dev libfftw3-dev swig zip fonts-freefont-ttf

# macOS
brew install gcc sdl2 sdl2_ttf fftw swig zip
To compile, execute this in the top directory:
make emu
Running the emulator
:warning: Replace 'linux' with 'darwin' when running on macOS.
Executing the emulator from the root of the project tree without arguments will start it up with default settings:
testing/linux/emu/emu.elf
This will typically be enough to get started. If you want to dive in deeper execute with '-h' or --help' to get help on the commandline configuration options:
> testing/linux/emu/emu.elf --help
ER-301 Emulator (v0.6.02)
Usage: emu.elf [OPTIONS]

Examples:
  emu.elf              # Start emulator with default configuration file.
  emu.elf -c foo.cfg   # Start emulator with 'foo.cfg'.

  -h, --help         Show this help.
  -c, --config FILE  Use the given configuration file.
                     (Default: ~/.od/emu.config)
:warning: If you do not want to execute the emulator from top of the project tree then you will have to configure the path to the lua scripts file tree (XROOT) before starting the emulator.
Configuring the emulator
If you run the emulator and it cannot find a valid configuration file then the program will create a default one in ~/.od/emu.config that is similar to this:
## ER-301 Emulator Configuration

## Root for the Lua interpreter
XROOT ./xroot

## Use this root for the rear SD card.
REAR_ROOT ~/.od/rear
REAR_PRESENT true

## Use this root for the front SD card.
FRONT_ROOT ~/.od/front
FRONT_PRESENT true

## Key mapping

BUTTON_MAIN1_KEY Q
BUTTON_MAIN2_KEY W
BUTTON_MAIN3_KEY E
BUTTON_MAIN4_KEY R
BUTTON_MAIN5_KEY T
BUTTON_MAIN6_KEY Y
BUTTON_DIAL1_KEY A
BUTTON_DIAL2_KEY S
BUTTON_DIAL3_KEY D
BUTTON_SUB1_KEY F
BUTTON_SUB2_KEY G
BUTTON_SUB3_KEY H
BUTTON_ENTER_KEY V
BUTTON_UP_KEY B
BUTTON_SHIFT_KEY N
BUTTON_SELECT1_KEY 1
BUTTON_SELECT2_KEY 2
BUTTON_SELECT3_KEY 3
BUTTON_SELECT4_KEY 4
STORAGE_FOCUS_KEY Z
MODE_FOCUS_KEY X
ZOOM_IN_KEY =
ZOOM_OUT_KEY -
QUIT_KEY Q

## Knob mapping

##  Scale factor for mouse wheel. Negate to invert.
MOUSE_WHEEL_FACTOR 0.5

##  Scale factor for LEFT/RIGHT arrow keys. Negate to invert.
LEFT_RIGHT_ARROWS_FACTOR 1

##  Scale factor for UP/DOWN arrow keys. Negate to invert.
UP_DOWN_ARROWS_FACTOR 0.25
Edit this file with your own values to configure various items like key mappings, knob speed, and paths for lua scripts and file trees.
Installing packages
Packages encapsulate unit presets (.unit), unit definitions (.lua), and shared libraries (*.so) into one shareable bundle along with any necessary assets (e.g. sound files and so on). The core units are also distributed as a package, so let's use the core package as an example. First, to compile and create the core package, execute:
make core
Next, let's go over the two main methods for installing packages.
Manual Package Install
This method mirrors exactly what an end-user would do to install a package. Copy the resulting package file to front/ER-301/packages. You will need to change the command below to match the correct version.
cp testing/linux/mods/core-<version>.pkg ~/.od/front/ER-301/packages
Finally, run the emulator again using the same command-line as before and install the core mod package from the Package Manager screen. Now you will have access to all of the core units in the emulator.
Auto Package Install
This method is used by the firmware installer and can be useful for development also. You simply copy the *.pkg file to the rear root:
cp testing/linux/mods/core-<version>.pkg ~/.od/rear
Then the next time you boot up the emulator, it will move over packages found in rear to front/ER-301/packages. This makes the package show up in the Package Manager. Finally, depending on the following conditions the package may or may not be automatically installed:
| Condition | Action |
|---|---|
| There is no previous version of the package. | Install the package. |
| There is a previous version of the package but it is not installed. | Do not install the package. |
| There is a previous version of the package and it is installed. | Uninstall the previous version and install the newer version. |
Limitations
The emulator can load and execute any mod that the real ER-301 can load and execute. No porting of source code is necessary (even those written using NEON instrinsics), just recompilation for the target host on which you will run the emulator. However, there are a few differences when it comes to the inputs and outputs.
Outputs are mixed down to stereo
Currently, the 4 output channels are mixed down to stereo for maximal compatibility with different setups.
- Left channel: OUT1+OUT3
- Right channel: OUT2+OUT4
No external inputs
There are no external input channels implemented yet. However, when it comes to the main purpose of this emulator, it hasn't been much of an obstacle since you can generate just about any testing signals that you need within the ER-301 emulation. In fact, when it comes to testing, it is usually much easier to deal with canned signals for their repeatibility and ease of setup.
No I2C control
The teletype mod will compile and install. You can even instantiate its units. However, there is no emulation of the I2C bus.
Creating your own mods
Install the TI Processor SDK for AM335x
First, you will need to install the TI-RTOS development tools for the AM335x.
- It is important that you use this specific version: 04.01.00.06.
- Navigate to this page and download the file called ti-processor-sdk-rtos-am335x-evm-04.01.00.06-Linux-x86-Install.bin.
- Executing this file will run an installer program.
- When asked, please set the destination folder to
~/ti. This is the path assumed by the project makefiles. If instead you install to a different folder then before executing any cross-compilation commands, you will need to set the TI_INSTALL_DIR shell environment variable to the actual path that you used. If you don't want to change your shell environment then you can also pass the path on the commandline like this:
make core TI_INSTALL_DIR=~/your-path-to-ti-sdk ARCH=am335x
This documentation will assume that you used the default location.
Note: If you get a warning message from the installer about a "Problem running post-install step. Installation may not complete correctly.", you can ignore it.
Other required dependencies
sudo apt install swig python3 zip gcc-multilib
Test your build environment
A good test of your build environment is to see if you can successfully build the factory mods:
make core teletype ARCH=am335x
Work through the tutorials
The tutorial directory contains 3 example projects that progressively increase in complexity and sophistication. These projects also show how you can work completely outside of this source tree.
USB Functions
There is a USB port on the back of the ER-301. As of v0.6.00 of the firmware, the ER-301 can enumerate as a mass storage device (which provides access to the front SD card) or a virtual serial port device (the ER-301 will output console messages here when connected). The settings for USB are located in admin > General Settings. However, I would think of the USB functionality as more developer-targeted for because...
:warning: There is a gotcha with having the ER-301 plugged into a USB host. It will not boot because it will be waiting for the USB host to give it firmware via BOOTP/TFTP. This is baked into the AM335x ROM unfortunately. The solution is to have a BOOTP server always running on your host that either gives it the firmware or tells the ER-301 to give up and boot from the SD card.
Build profiles and target architectures
All build outputs are placed in a sub folder composed of the build profile and the target architecture. There are 3 build profiles:
- testing: All optimizations and logging enabled.
- debug: No optimizations. Logging enabled.
- release: All optimizations enabled. Logging disabled.
And here are the 3 supported target architectures:
- am335x
- linux
- darwin (macOS)
So for example, if I execute the following make command:
make core PROFILE=debug ARCH=linux
Then the build outputs will appear in the debug/linux directory of the project root. Generally, the default profile is testing and the default architecture is determined by your OS (uname -s). See the top-level Makefile for more details.
Glossary
Package
A package is an archive of files along with meta data that allows it to be recognized and manipulated (i.e. installed, uninstalled, loaded, unloaded) by the package manager.
Mod
A mod is any collection of code that is to be executed by the base firmware and is not part of of the base firmware. So a package containing scripts (.lua) and/or shared libraries (.so) is a packaged mod. A package containing only presets is not a packaged mod, it is just a package of presets.