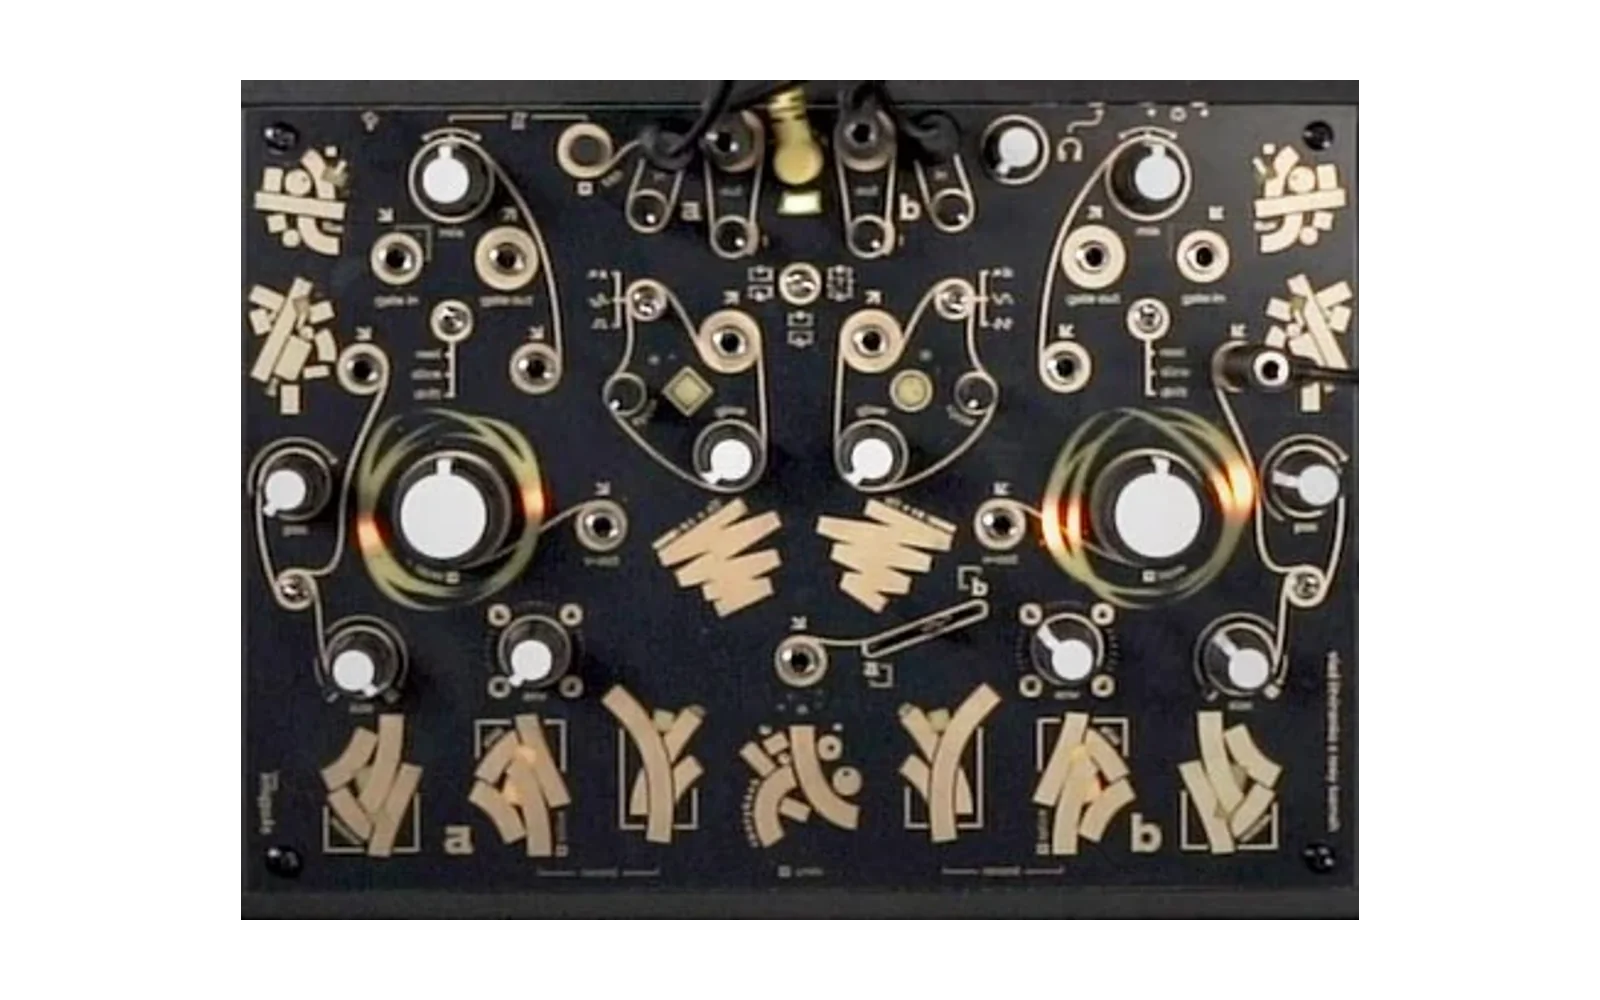
Spotykach
The official firmware for the Spotykach.
Setup
Clone the repo recursively or run git submodule update --init --recursive
to update submodules (libDaisy + DaisySP)
Note that the ws2812 driver requires a slight modification to libDaisy, as such the libDaisy submodule commit ref points at a specific branch within the bleeptools fork (which is based on Infrasonic Audio fork), containing a few other modifications as well, namely within the MIDI and mpr121 classes.
Compiling the Firmware
First you must build the libraries. For convenience there is a target in the Makefile for this, so you
simply need to run the following command from a terminal (in the root directory of this repository):
make -j8 libs
Note: The -j8 flag runs make with 8 parallel jobs, feel free to change the number. It works best
if you use the number of cores (including hyperthread cores) on your machine.
Then, build the actual firmware code:
make -j8
If successful the compiled binaries will end up in the build/ directory along with many other
intermediate build files:
spotykach.bin
spotykach.elf
The .elf file is mainly used for debugging. The .bin file is the one that the DFU
utilities will flash onto the Seed.
Flashing the Firmware
The bootloader version used in this project enables USB DFU firmware updating from the external USB port - i.e. the USB-C port on the rear of the main PCB, NOT the one on the Seed. Application firmware can only be flashed using the USB-C port.
- Compile the firmware using the steps above
- Connect the USB-C connector on the main PCB to the computer (ensure the cable is not power-only)
- Hold the
Resetbutton on the back of the unit for ~3 seconds. The leds under bottom pads going to "breathe" in white. - Run the command
make program-dfufrom a terminal
Once finished, the device will automatically boot the new firmware. This can "brick" (temporarily) the device and require reinstallation of either the bootloader, the firmware binary, or both.