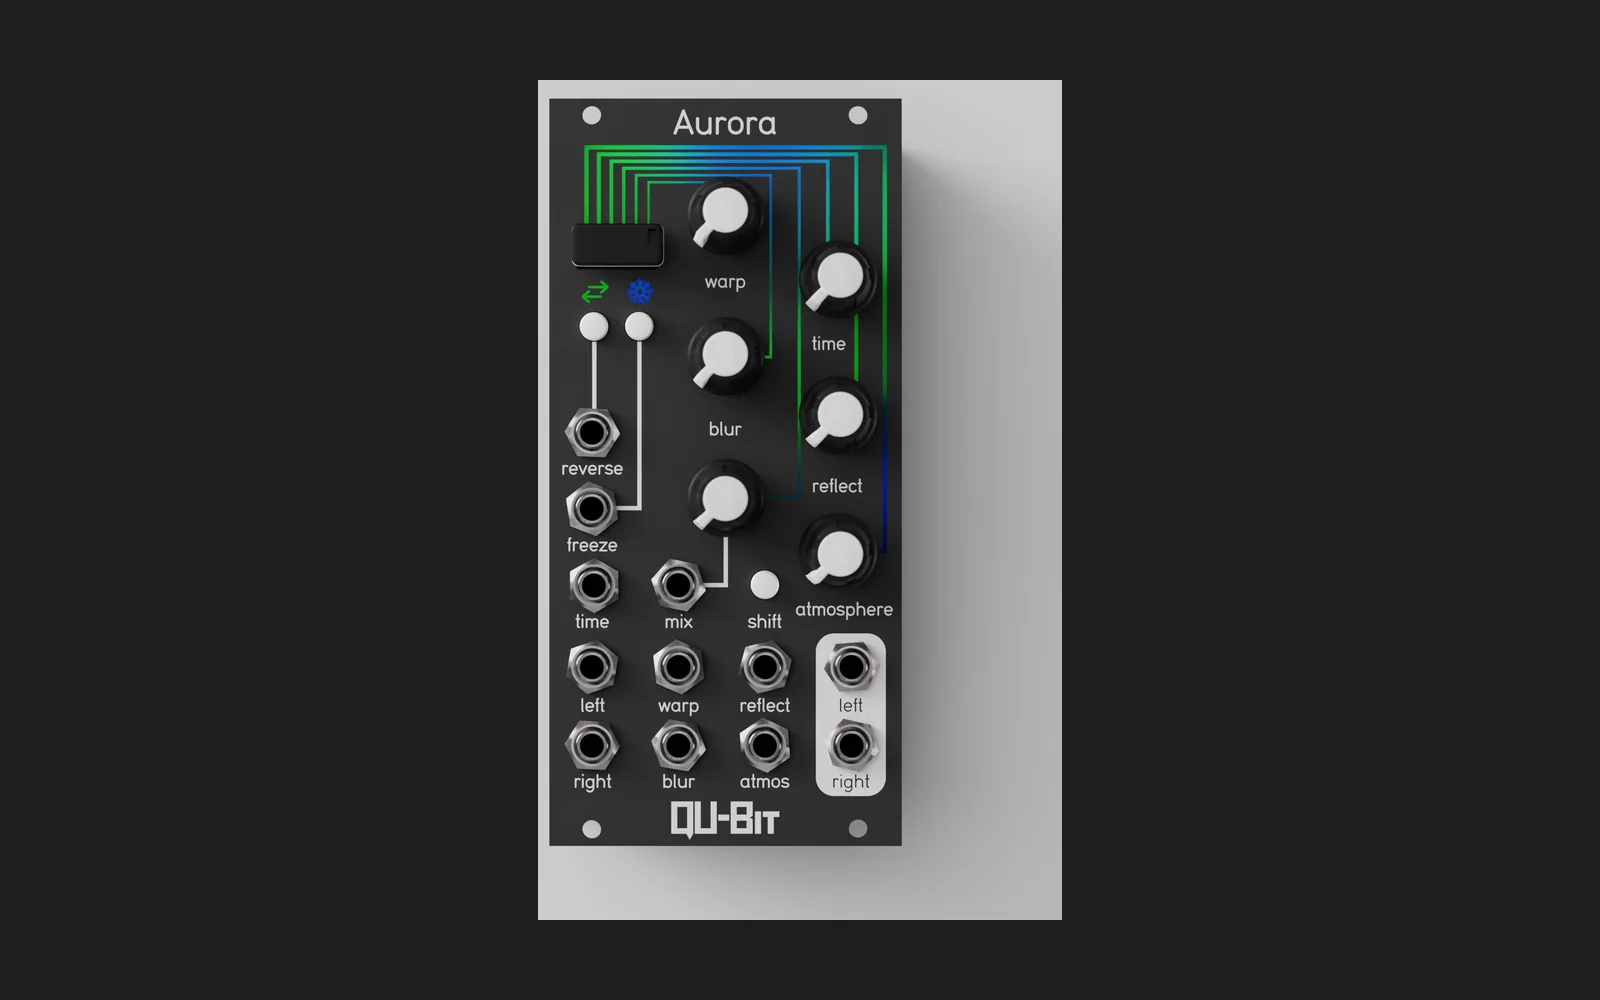
Aurora Firmware Template
A minimal, ready-to-fork starting point for writing your own firmware for the Qu-Bit Aurora eurorack module.
What's included
| Path | Purpose |
|---|---|
hello-aurora/ | Example project: knob-driven LED colours + audio passthrough |
lib/Aurora-SDK | Git submodule — Aurora BSP, libDaisy, DaisySP |
config.mk | Shared toolchain and SDK path config |
Makefile | Top-level build / flash / libdaisy targets |
hello-aurora
A small firmware that exercises the main hardware features:
- Each knob drives the hue of its paired RGB LED (HSV colour model)
KNOB_MIXalso scales the stereo audio passthrough volumeSW_FREEZEandSW_REVERSElight their attached LEDs white when heldLED_BOT_1/2/3mirror the first three knob colours (useful for physical position mapping)
The hello-aurora/tests/ directory has host-side unit tests for the colour.h and audio.h helpers, built and run with plain g++ and doctest.
Getting started
1. Create your repository from this template
Option A — GitHub UI: Click "Use this template" → "Create a new repository" on the repo page. Give it a name and finish the wizard. GitHub creates the remote repository; nothing is cloned yet.
Option B — GitHub CLI:
gh repo create YOUR_REPO --template OWNER/aurora --public --clone=false
Once the remote exists, clone it with submodules:
git clone --recurse-submodules https://github.com/YOUR_USERNAME/YOUR_REPO.git
cd YOUR_REPO
If you forgot --recurse-submodules:
git submodule update --init --recursive
A suggested name convention would be 'Aurora-*'.
2. Install the ARM toolchain
The build uses gcc-arm-none-eabi. The default path in config.mk is:
~/.local/share/gcc-arm-none-eabi/gcc-arm-none-eabi-10-2020-q4-major/bin
You can install the toolchain there, or override the path at build time:
make build PROJECT=hello-aurora GCC_PATH=/path/to/your/arm-gcc/bin
The Aurora-SDK README has OS-specific toolchain installation instructions for Windows, macOS, and Linux.
3. Build libDaisy (one-time)
make libdaisy
This compiles the libDaisy static library from source inside the submodule. Only needed once, or after updating the submodule.
4. Run the unit tests
The tests compile and run on your host machine (no hardware needed):
cd hello-aurora/tests
make
5. Build and flash hello-aurora
# Build
make build PROJECT=hello-aurora

# Copy .bin to USB drive (adjust MOUNT to where your USB drive is mounted)
make flash PROJECT=hello-aurora MOUNT=/media/YOUR_USER/YOUR_DRIVE
Then:
- Eject the USB drive from your computer
- Insert it into the Aurora module
- Power up the Aurora with the USB drive inserted — the bootloader loads the firmware at boot
Verify it loaded: power down, re-insert the USB drive into your computer, and check daisy_boot_log.txt. The newest entry should read:
N. Successfully flashed file "hello-aurora.bin" to address 0x90040000
If the entry is missing or shows an error, check that hello-aurora.bin is the only .bin file in the root of the drive.
Starting your own project
From there the world is yours! Start writing code and show us what you got!
Hardware reference
See context.md for notes on physical LED positions, knob layout, button names, and bottom-LED hardware constraints that aren't obvious from the SDK headers.
License
MIT — see LICENSE.