loewenzahnhonig-firmware
A repository to collect different firmwares for the daisy-based Löwenzahnhonig module.
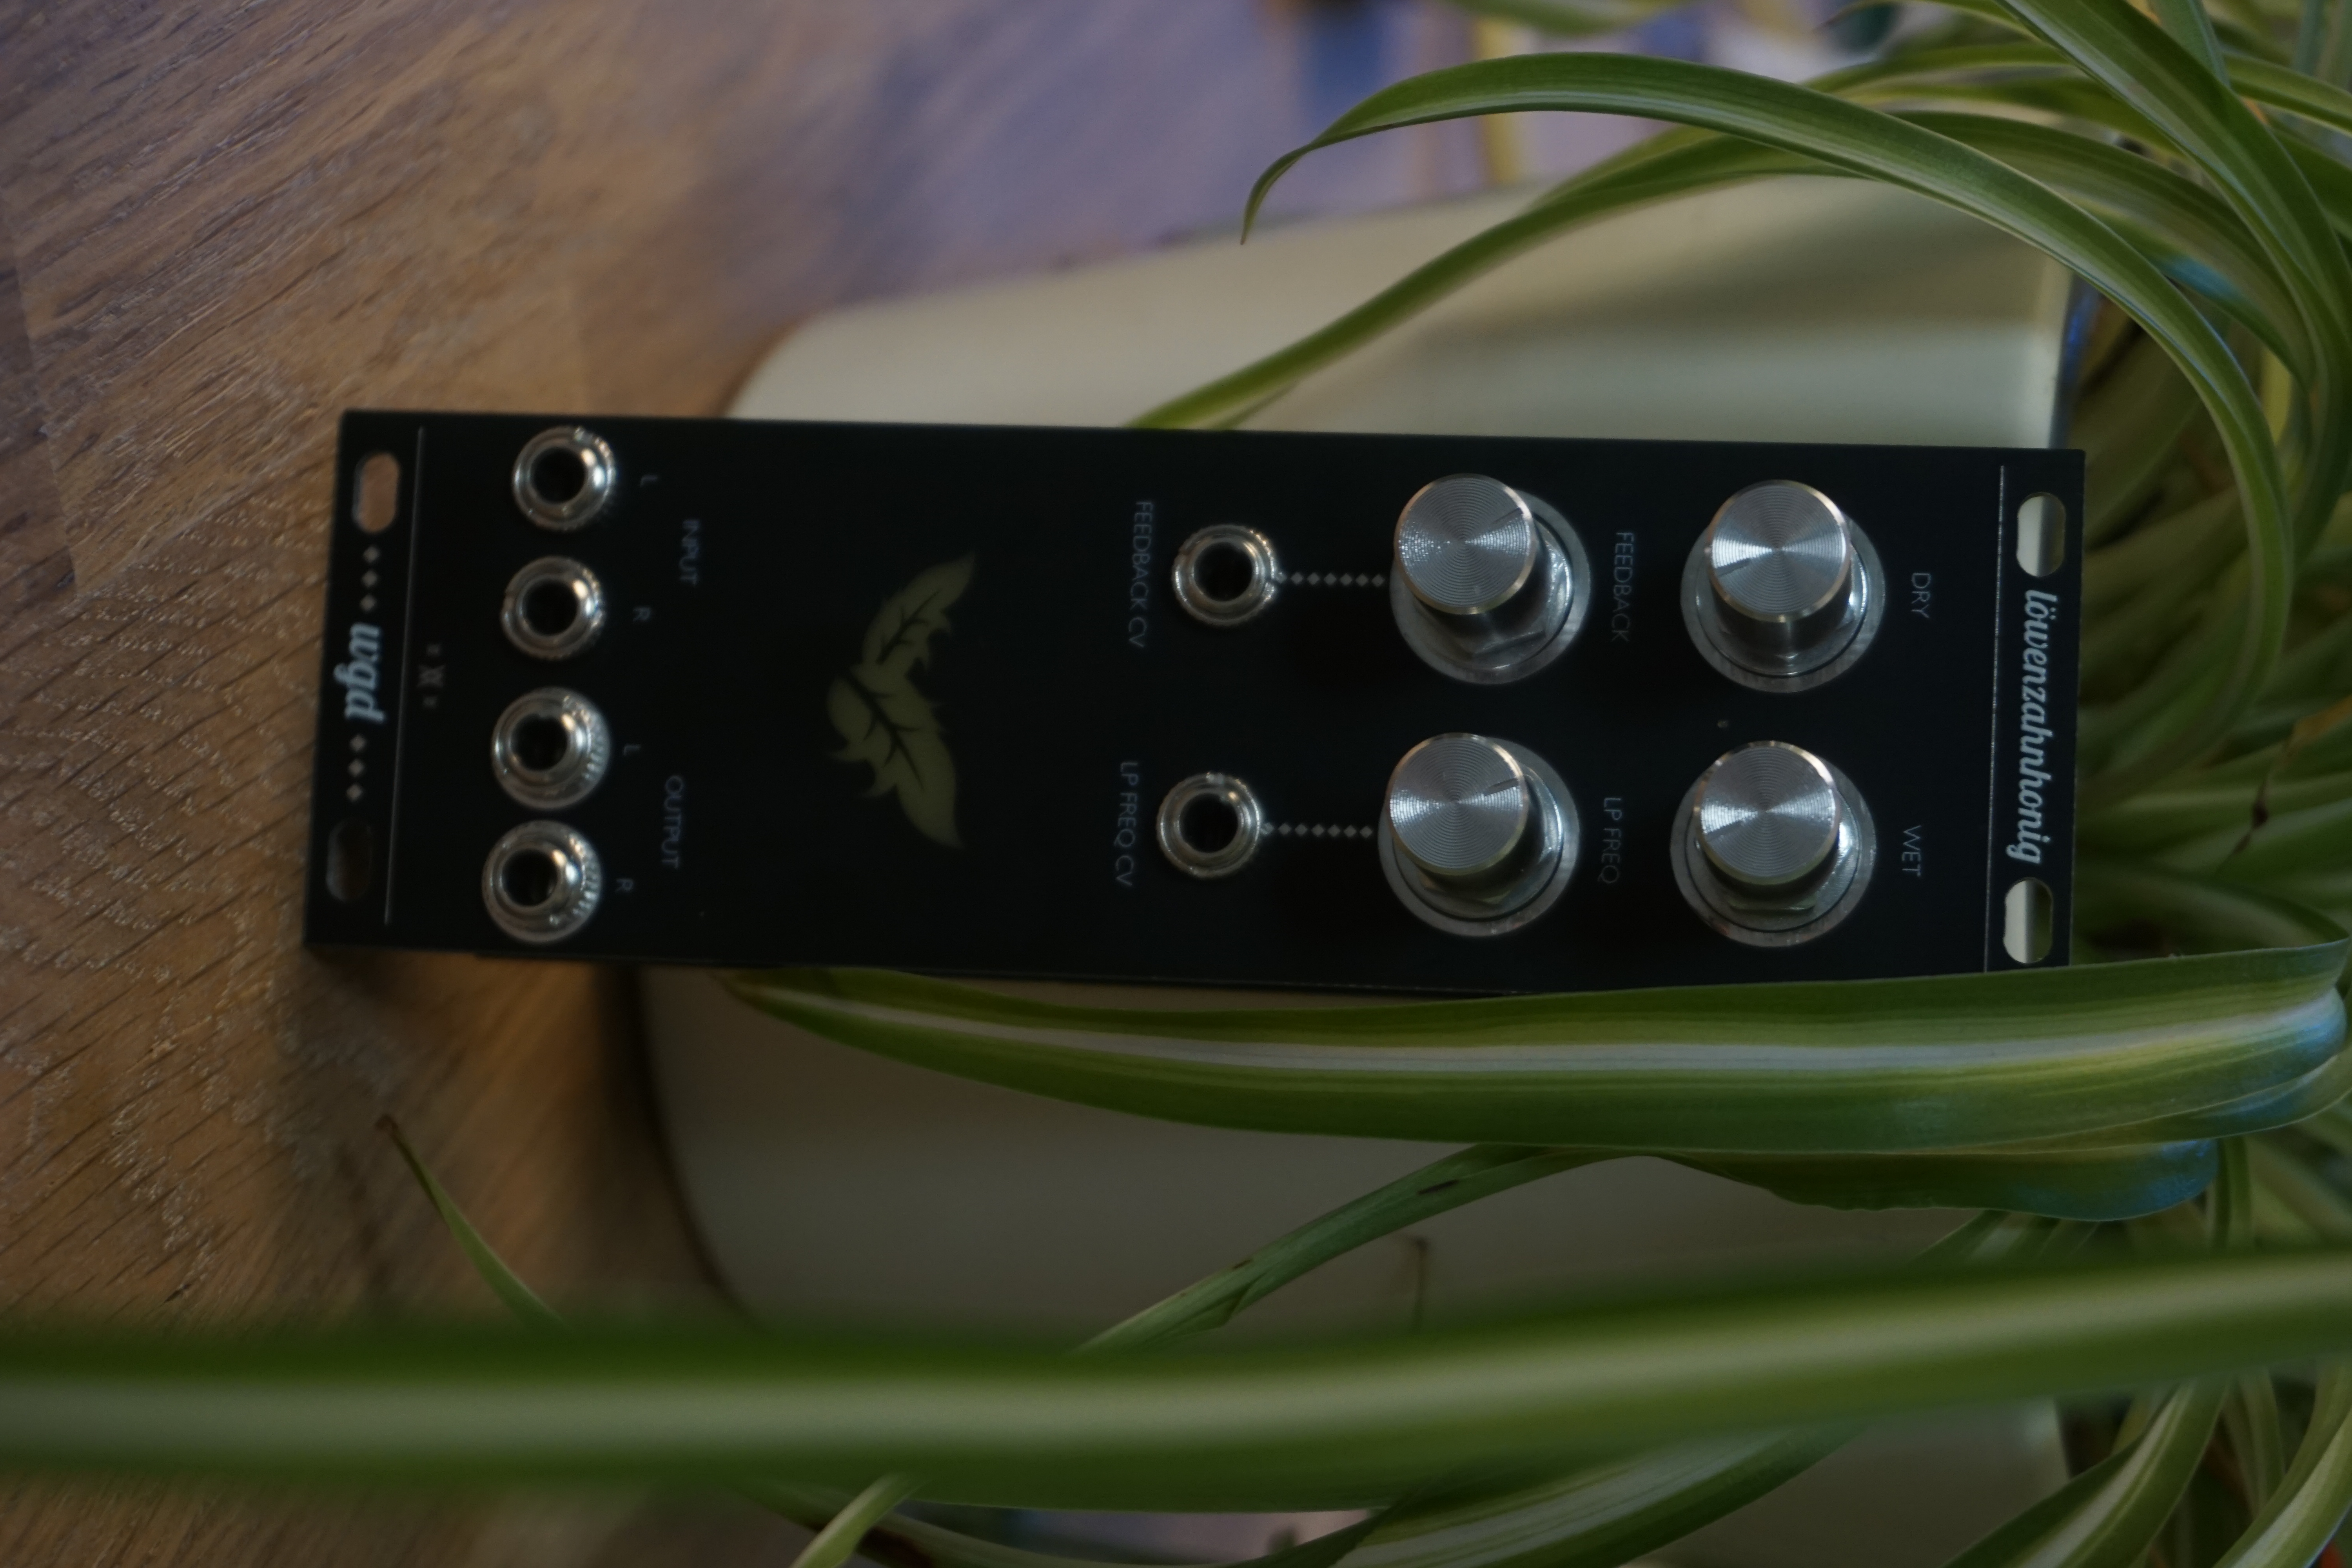
Flash your module
Flash your module straight from the browser with the Löwenzahnhonig web flasher. Open it in Google Chrome or Edge, connect the Daisy Seed over USB, hold BOOT and tap RESET to enter the bootloader, then pick a firmware and press flash. It lists every firmware of the latest release together with its controls, and can also flash a local .bin you built yourself.
Prefer to grab the raw binaries? Every firmware is pre-compiled and attached to the latest release.
Manual
The user manual (PDF) describes the module, how to flash it and every firmware with all of its controls. It is attached to every release, and the CI run of each commit has a build of it as an artifact. To build it yourself run pixi run manual; it only needs typst, python and git, managed by pixi, and takes the history of each firmware's folder from git log, so clone the repository with its full history.
Controls
One side of the modules front panel has a generic labelling. This table contains a mapping of which control is associated with which pin of the daisy seed.
| Control | Daisy Pin |
|---|---|
| P1 | A0 |
| P2 | A1 |
| P3 | A2 |
| P4 | A3 |
| CV1 | A4 |
| CV2 | A5 |
The CV inputs take 0 V to +5 V. The firmwares read them as values from 0 (0 V) to 1 (+5 V); negative voltages and an unpatched jack read as 0 V. lib/loewy.h has the details.
Compilation
This step is only required if you want to modify a firmware or create your own. The firmwares depend on the libDaisy and DaisySP development libraries by Electro-Smith, and some depend on lib/eurorack or lib/cloudseed-daisy. These are added as submodules to this repository and are most easily fetched when initially cloning the repository as follows:
git clone --recursive https://github.com/wgd-modular/loewenzahnhonig-firmware
If you cloned without --recursive, fetch them afterwards with git submodule update --init --recursive.
Everything else, the ARM GCC toolchain, make, Python and the arduino-cli toolchain the .ino-based firmwares need, is managed by pixi, so nothing has to be installed system-wide apart from pixi itself. It works the same on Linux and macOS (Intel and Apple Silicon); on Windows use WSL. To compile all firmwares run:
pixi run build
The first run sets up the toolchains and compiles both libraries, later runs reuse them. To compile one specific firmware, pass its name:
pixi run build vca
This places the firmware in src/vca/build/vca.bin, ready for the web flasher. pixi run build-libs only rebuilds the libraries, and pixi run clean removes all build output again.
When working on a single Make-based firmware it can be handy to drop into the environment with pixi shell and call make inside the firmware's folder directly.
Contributing
New firmwares for the Löwenzahnhonig module are always very welcome. Feel free to open a PR anytime. Each new firmware should be located in a new sub-folder with the same name as the .ino file together with a README.md file telling users about the controls and other possibly interesting stuff.
The manual is generated from these READMEs, there is no hand-written text per firmware. The first # heading is the firmware's name, the text up to the first section heading its introduction, and every heading of the shallowest level below it starts a section. A section called "Controls" is highlighted, and what stands before its first sub-heading goes into a plaque, so put the table or list of the controls there. Sections for people who build or flash the firmware themselves (those called Building, Flashing, CPU load or Performance) are left out, as the manual has a chapter on both. A firmware whose README links to the README of another firmware (../nimbus/README.md, say) is listed as its variant, right behind it, and a variant without any sections is described within the chapter of the firmware it belongs to. Who wrote a firmware, when it was added and last changed come from the git history of its folder, so credit co-authors with a Co-authored-by trailer. Images and tables are fine, keep the text to Markdown.
Make-based firmwares can use the small hardware abstraction in lib/loewy.h: it initializes the Daisy Seed and the ADC channels of the four pots and two CV inputs, and smooths their readings. src/vca/vca.cpp is a minimal example of how to use it. It also applies the Seed's system settings from the lib/cloudseed-daisy submodule (the 480 MHz clock where the silicon allows it, the SDRAM's refresh count and timings, the cache policies), which is why every firmware needs the submodules initialized.
The Cloud Seed firmware (src/cloudseed) is the reference application of the cloudseed-daisy library, a Cloud Seed reverb for any Daisy Seed; the library is a submodule in lib/cloudseed-daisy.