EuroPiGo

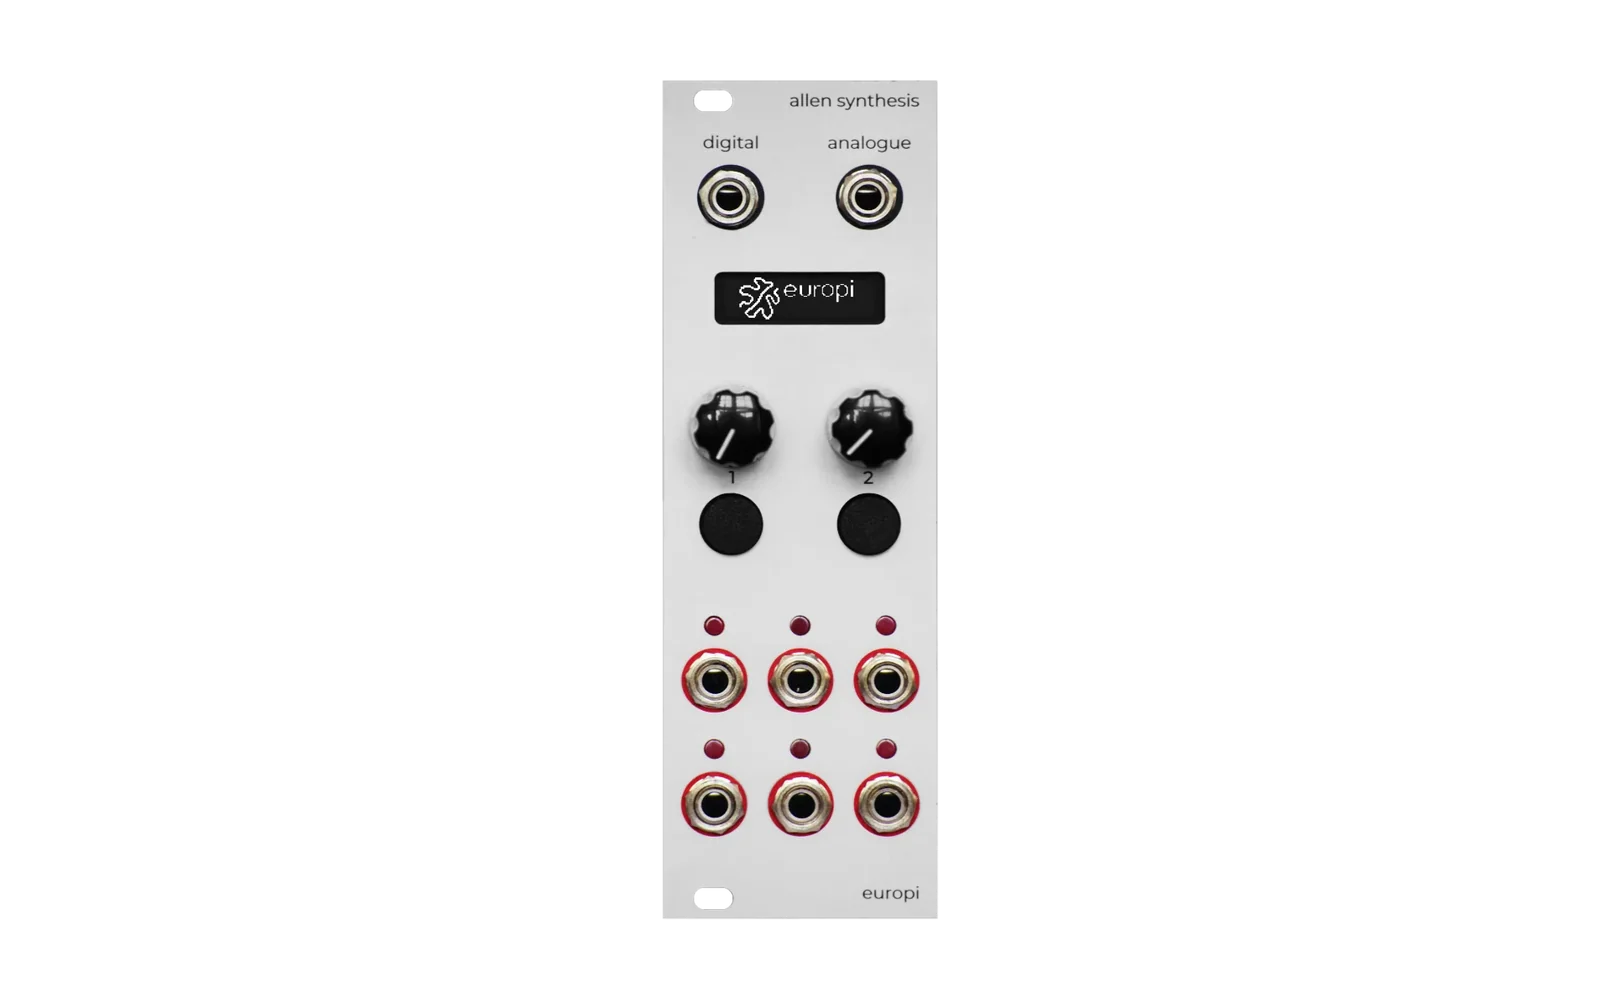
Alternate firmware for the Allen Synthesis EuroPi written in Go.
Getting started
Install Go
Install TinyGo
https://tinygo.org/getting-started/install
Install the TinyGo VSCode plugin
https://marketplace.visualstudio.com/items?itemName=tinygo.vscode-tinygo
Build the example
Use the tinygo flash command while your pico is in BOOTSEL mode to compile the script and copy it to your attached EuroPi pico.
tinygo flash --target pico examples/diagnostics.go
After the first time you flash your TinyGo program you will no longer need to reboot in BOOTSEL mode to flash your script.
NOTE: If your script throws a panic, you will need to reflash using BOOTSEL mode.
Serial printing
When your EuroPi pico is connected via USB you can view printed serial output using a tool like minicom.
For example, a line in your code like:
log.Printf("K1: %2.2f\n\r", e.K1.ReadVoltage())
You can launch minicom to view the printed output:
minicom -b 115200 -o -D /dev/ttyACM0
VSCode build task
Add the TinyGo flash command as your default build task:
Ctrl + Shift + P > Tasks: Configure Default Build Task
Use the following example task configuration to set tinygo flash as your default build command:
{
    "version": "2.0.0",
    "tasks": [
        {
            "label": "tinygo flash",
            "type": "shell",
            "command": "tinygo flash --target pico -size short -opt 1 ${workspaceRoot}/examples",
            "group": {
                "kind": "build",
                "isDefault": true
            },
        }
    ]
}
Now you can build and flash your project using Ctrl + Shift + B or search for the command:
Ctrl + Shift + P > Tasks: Run Build Task
Debugging using picoprobe
TODO
Why should I use this?
You probably shouldn't. This is my passion project because I love Go. You should probably be using the official EuroPi firmware. But if you are interested in writing a dedicated script for the EuroPi that requires concurrency and faster performance than MicroPython can offer, then maybe this is the right firmware for you!